Create pdf with tooltips in R
Simple question: Is there a way to plot a graph from R in a pdf file and include tooltips?
There's always a way. But the devil is in the details, so the real question is: are you willing to get your hands dirty?
PDF does support tooltips for certain kinds of objects such as hyperlinks. So, if there is a way to insert raw PDF statements indicating there should be a hyperlink-like object at some position in your plot, then there is a way to pop up a tooltip.
Now, the only way I know of to generate and compile raw PDF statements is to create the document using TeX. There are definitely other ways to do it, but this is the one I am familiar with. The following examples use a graphics device that Cameron Bracken and I wrote, the tikzDevice, to render R graphics to LaTeX code. The tikzDevice has preliminary support for injecting arbitrary LaTeX code into the graphics output stream through the tikzAnnotate function---we will be using this to drop PDF callouts into the plot.
The steps involved are:
- Set up a LaTeX macro to generate the PDF commands required to produce a callout.
- Set up an R function that uses
tikzAnnotateto invoke the LaTeX macro at specific points in the plot. - ???
- Profit!
In the examples that follow, one major caveat is attached to step 2. The coordinate calculations used will only work with base graphics, not grid graphics such as ggplot2.
Simple Tooltips
Step 1
The tikzDevice allows you to create R graphics that include the execution of arbitrary LaTeX commands. Usually this is done to insert things like $\alpha$ into plot titles to generate greek letters, α, or complex equations. Here we are going to use this feature to invoke some raw PDF voodoo.
Any LaTeX macros that you wish to be available during the generation of a tikzDevice graphic need to be defined up-front by setting the tikzLatexPackages option. Here we are going to append some stuff to that declaration:
require(tikzDevice) # So that default options are setoptions(tikzLatexPackages = c( getOption('tikzLatexPackages'), # The original contents: required stuff # Avert your eyes for a sec, all will be explained below "\\def\\tooltiptarget{\\phantom{\\rule{1mm}{1mm}}}", "\\newbox\\tempboxa\\setbox\\tempboxa=\\hbox{}\\immediate\\pdfxform\\tempboxa \\edef\\emptyicon{\\the\\pdflastxform}", "\\newcommand\\tooltip[1]{\\pdfstartlink user{/Subtype /Text/Contents (#1)/AP <</N \\emptyicon\\space 0 R >>}\\tooltiptarget\\pdfendlink}"))If all that quoted nonsense were to be written out as LaTeX code by someone who cared about readability, it would look like this:
\def\tooltiptarget{\phantom{\rule{1mm}{1mm}}}\newbox\tempboxa\setbox\tempboxa=\hbox{} \immediate\pdfxform\tempboxa \edef\emptyicon{\the\pdflastxform}\newcommand\tooltip[1]{% \pdfstartlink user{% /Subtype /Text /Contents (#1) /AP << /N \emptyicon\space 0 R >> }% \tooltiptarget% \pdfendlink%}For those programmers who have never taken a walk on the wild side and done some "programming" in TeX, here's a blow-by-blow for the above code (as I understand it anyway, TeX can get very weird---especially when you get down in the trenches with it):
Line 1: Define an object,
tooltiptarget, which is non-visible (a phantom) and is a 1mm x 1mm rectangle (a rule). This will be the onscreen area which we will use to detect mouseovers.Line 2: Create a new box, which is like a "page fragment" of typset material. Can contain pretty much anything, including other boxes (sort of like an R list). Call it
tempboxa.Line 3: Assign the contents of
tempboxato contain an empty box that arranges its contents using a horizontal layout (which is unimportant, could have used a vbox or other box).Line 4: Create a PDF Form XObject using the contents of
tempboxa. A Form XObject can be used by PDF files to store graphics, like logos, that may be used over and over. Here we are creating a "blank icon" that we can use later to cut down on visual clutter. TeX defers output operations, like writing objects to a PDF file, until certain conditions have been met---such as a page has filled up. Immediate makes sure this operation is not deferred.Line 5: This line captures an integer value that serves as a reference to the PDF XObject we just created and assigns it the name
emptyicon.Line 6: Starts the definition of a new macro called tooltip that takes 1 argument which is referred to in the body of the macro as
#1. Each line in the macro ends with a comment character,%, to keep TeX from noticing the newlines that have been added for readability (newlines can have strange effects inside macros).Line 7: Output raw PDF commands (pdfstartlink). This begins the creation of a new PDF annotation object (
\Type \Annot) of which there are about 20 different subtypes---among them are hyperlinks. Every line following this contains raw PDF markup with a couple of TeX macros.Line 8: Declare the annotation subtype we are going to use. Here I am going with a plain Text annotation such as a comment or sticky note.
Line 9: Declare the contents of the annotation. This will be the contents of our tooltip and is set to
#1, the argument to the tooltip macro.Lines 10-12: Normally text annotations are marked by an icon, such as a sticky note, to highlight their location in the text. This behavior will cause a visual mess if we allow it to splatter little sticky notes all over our graphs. Here we use an appearance array (
\AP << >>) set the "normal" annotation icon (\N) to be the blank icon we created earlier. The integer we stored inemptyiconalong with0 Rforms a reference to the Form XObject we made on Line 4 using an empty box.Line 14: If we were making a normal hyperlink, here is where the text/image/whatever would go that would serve as the link body. Instead we insert
tooltiptarget, our invisible phantom object which does not show up on the screen but does react to mouseovers.
Step 2
Allright, now that we have told LaTeX how to create tooltips, it is time to make them usable from R. This involves writing a function that will take coordinates on our graph, such as (1,1), and convert them into canvas or "device" coordinates. In the case of the tikzDevice the required measurement is "TeX points" (1/72.27 of an inch) from the absolute bottom left of the plotting area. Fortunately for base graphics, there are handy functions to calculate this for us. Grid graphics work differently, so the approach taken in the examples here won't work for them.
The final task for our R function is to call tikzAnnotate to insert a TikZ "node" into the output stream that is located at the coordinates we computed. Nodes can contain arbitrary TeX commands, in this case we will be calling upon tooltip.
Here is an R function that contains the above functionality:
place_PDF_tooltip <- function(x, y, text){ # Calculate coordinates tikzX <- round(grconvertX(x, to = "device"), 2) tikzY <- round(grconvertY(y, to = "device"), 2) # Insert node tikzAnnotate(paste( "\\node at (", tikzX, ",", tikzY, ") ", "{\\tooltip{", text, "}};", sep = '' )) invisible()}Step 3
Try it out on a plot:
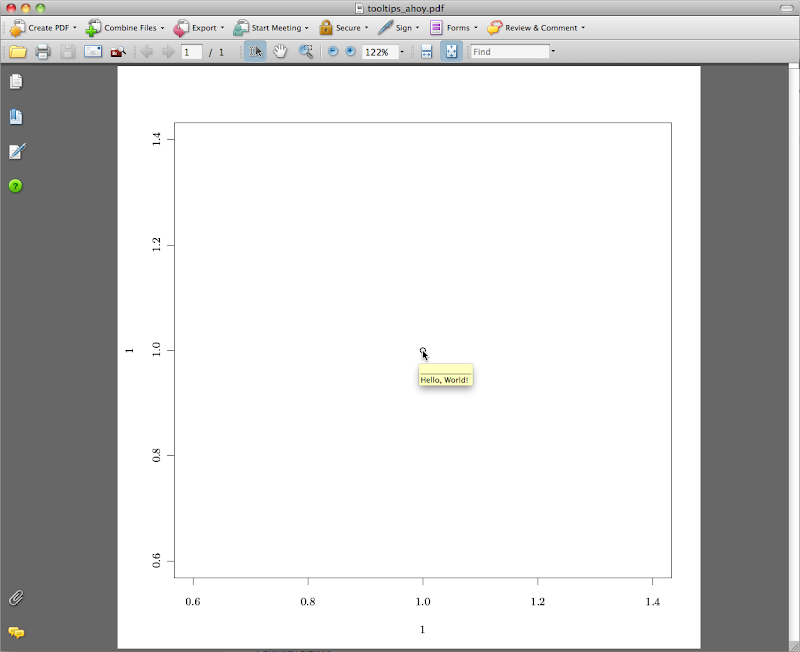
# standAlone creates a complete LaTeX document. Default output makes# stripped-down graphs ment for inclusion in other LaTeX documentstikz('tooltips_ahoy.tex', standAlone = TRUE)plot(1,1)place_PDF_tooltip(1,1, 'Hello, World!')dev.off()require(tools)texi2dvi('tooltips_ahoy.tex', pdf = TRUE)Step 4
Behold the result (download a pdf):
Advanced Tooltips
Step 1
So, now that we have simple tooltips out of the way, why not crank it to 11? In the previous example, we used an empty hbox to get rid of the tooltip icon. But what if we had put something in that box, like text or a drawing? And what if there was a way to make it so that the icon only appeared during mouseover events?
The following TeX macro is a little rough around the edges, but it shows that this is possible:
\usetikzlibrary{shapes.callouts}\tikzset{tooltip/.style = { rectangle callout, draw, callout absolute pointer = {(-2em, 1em)}}}\def\tooltiptarget{\phantom{\rule{1mm}{1mm}}} \newbox\tempboxa\newcommand\tooltip[1]{% \def\tooltipcallout{\tikz{\node[tooltip]{#1};}}% \setbox\tempboxa=\hbox{\phantom{\tooltipcallout}}% \immediate\pdfxform\tempboxa% \edef\emptyicon{\the\pdflastxform}% \setbox\tempboxa=\hbox{\tooltipcallout}% \immediate\pdfxform\tempboxa% \edef\tooltipicon{\the\pdflastxform}% \pdfstartlink user{% /Subtype /Text /Contents (#1) /AP << /N \emptyicon\space 0 R /R \tooltipicon\space 0 R >> }% \tooltiptarget% \pdfendlink%}The following modifications have been made compared to the simple callout.
The
shapes.calloutslibrary is loaded which contains templates for TikZ to use when drawing callout boxes.A
tooltipstyle is defined which contains some TikZ graphics boilerplate. It specifies a rectangular callout box that is to be visible (draw). Thecallout absolute pointerbusiness is a hack because I've had too many beers by this point to figure out how to place annotation icons using dynamically generated PDF primitives. This relies on the default anchoring of icons at their upper left corner and so pulls the pointer of the callout box toward that location. The result is that the boxes will always appear to the lower right of the pointer and if the callout text is long enough, they won't look right.Inside the macro, the tooltip is generated using a one-shot
tikzcommand that is stuffed into thetooltipcalloutmacro. A form XObject is generated fromtooltipcalloutand assigned totooltipicon.emptyiconis also dynamically generated by evaluatingtooltipcalloutinside ofphantom. This is required because the size of the default icon apparently sets the viewport available for the rollover icon.When generating PDF commands, a new row is added to the
/AParray,/Rfor rollover, that uses the XObject referenced bytooltipicon.
The ready to consume R version is:
require(tikzDevice)options(tikzLatexPackages = c( getOption('tikzLatexPackages'), "\\usetikzlibrary{shapes.callouts}", "\\tikzset{tooltip/.style = {rectangle callout,draw,callout absolute pointer = {(-2em, 1em)}}}", "\\def\\tooltiptarget{\\phantom{\\rule{1mm}{1mm}}}", "\\newbox\\tempboxa", "\\newcommand\\tooltip[1]{\\def\\tooltipcallout{\\tikz{\\node[tooltip]{#1};}}\\setbox\\tempboxa=\\hbox{\\phantom{\\tooltipcallout}}\\immediate\\pdfxform\\tempboxa\\edef\\emptyicon{\\the\\pdflastxform}\\setbox\\tempboxa=\\hbox{\\tooltipcallout}\\immediate\\pdfxform\\tempboxa\\edef\\tooltipicon{\\the\\pdflastxform}\\pdfstartlink user{/Subtype /Text/Contents (#1)/AP <</N \\emptyicon\\space 0 R/R \\tooltipicon\\space 0 R>>}\\tooltiptarget\\pdfendlink}"))Step 2
The R-level code is unchanged.
Step 3
Let's try a slightly more complicated graph:
tikz('tooltips_with_callouts.tex', standAlone = TRUE)x <- 1:10y <- runif(10, 0, 10)plot(x,y)place_PDF_tooltip(x,y,x)dev.off()require(tools)texi2dvi('tooltips_with_callouts.tex', pdf = TRUE)Step 4
The result (download a PDF):
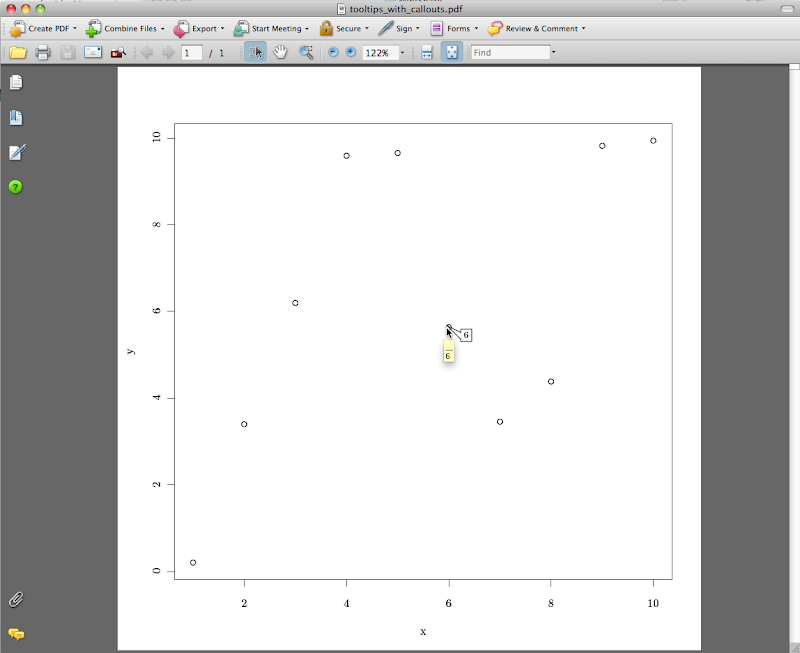
As you can see, there is an issue with both the tooltip and the callout being displayed. Setting \Contents () so that the tooltip has an empty string won't help anything. This can probably be solved by using a different annotation type, but I'm not going to spend any more time on it at the moment.
Caveats
Lots of TeX commands contain backslashes, you will need to double the backslashes when expressing things in R code.
Certain characters are special to TeX, such as
_,^,%, complete list here, you will need to ensure these are properly escaped when using the tikzDevice.Even though PDF is supposed to be superior to HTML in that it has a consistant rendering across platforms, your mileage will vary significantly depending on which viewer is being used. The screenshots were taken in Acrobat 8 on OS X, Preview also did a passable job but did not render the rollover callout. On Linux, xpdf didn't render anything and okular showed a tooltip, but did not suppress the tooltip icon and displayed a stock icon that looked a little garish in the middle of a plot.
Alternative Implementations
cooltooltips and fancytooltips are LaTeX packages that provide tooltip functionality that could probably be used from the tikzDevice. Some ideas used in the above examples were taken from cooltooltips.
Concluding Thoughts
Was this worth it? Well, by the end of the day I did learn two things:
I am not a PDF expert and I had to search a couple mailing lists and digest some parts of a 700+ page specification to even answer the question "is this possible?" let alone come up with an implementation.
I am not a SVG expert and yet I know that tooltips in SVG is not a question of "is this possible?" but rather "how sexy do you want it to look?".
Given that observation, I say that it is getting to be time for PDF to ride off into the sunset and take it's 700 page spec with it. We need a new page description markup language and personally I'm hoping SVG Print will be complete enough to do the job. I would even accept Adobe Mars if the specification is accesible enough. Just give us an XML-based format that can exploit the full power of today's JavaScript libraries and then some real innovation can begin. A LuaTeX backend would be a nice bonus.
References
- tikzDevice: A device for outputting R graphics as LaTeX code.
- comp.text.tex: Source of much insight into esoteric TeX details. Posts by Herbert Voß and Mycroft provided implementation ideas.
- The pdfTeX manual: Source of information concerning TeX commands that can generate raw PDF code, such as
\pdfstartlink - TeX by Topic: Go-to manual for low-level TeX details such as how
\immediateactually works. - The Adobe PDF Specification: The lair of details concerning PDF primitives.
- The TikZ Manual: Quite possibly the finest example of open source documentation ever written.
Well, not pdf, but you could include tooltips (among ohers) in svg format with SVGAnnotation or RSVGTipsDevice package.